How to Customize POS Receipt in Odoo 13
Functional Odoo 13 POS
Odoo Point of Sale (POS) is an important component of Odoo’s business technology suite. The Odoo POS module is available on and offline, providing store-wide consolidated data and has an integrated inventory management feature.
In a shop, the POS is a place where a commodity is passed from the seller to the customer. POS refers to the ‘point of sale’ which implies a stock and sales control system as the name suggests.
So in this blog, we are going to discuss “How To Customize POS Receipt In Odoo 13”.
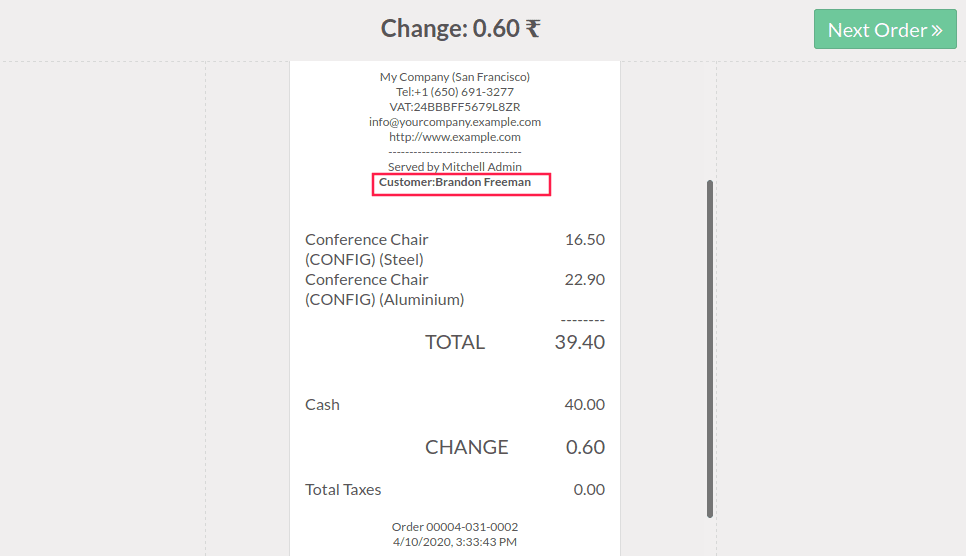
Here is an example of Odoo’s default receipt.

So, let’s see how to create a custom receipt in Odoo 13 POS. To customize the POS receipt we use a custom module.
First of all, we have to create a folder to inherit the template in
static -> src -> XML
Then we’ll inherit the ‘OrderReceipt’ template and make our custom changes in this template.
Here we are using t-extend to extend an existing template
And we’ll use <t t-jquery> to specify a position.
For example, if you want to add a customer name in the pos receipt then the code will look like this
In the above code, we are appending the customer’s name in the receipt. In case you want to replace the whole layout you can use ‘t-operation’ as ‘replace’ on the class ‘pos-receipt’.
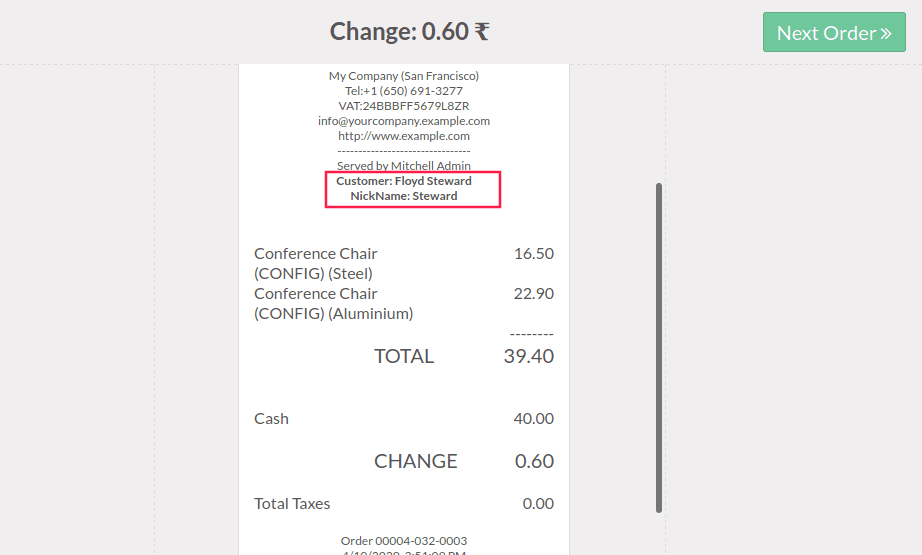
Here is an example of the customs receipt that we created.
We get the customer name because the field customer name is already loaded in the pos models. If you want to display the newly created field then you have to load the field in POS.
For example, if you have created a new field in customer form called nick_name then we have to write the following code in js to load this field in the pos.
Now we have to also change the xml code
And the __manifest__.py file will look like this.
Then the Receipt will be like this
In case you want to load a new model and fields you can use below code
Source: How to Customize POS Receipt in Odoo 13